Product Description
CAMERA TECHNIQUE for Professional Photographers
View-Camera Adjustments, pp. 29-50
The various adjustments—swings, slides, rises—which it is possible to make with a versatile view camera are often regarded by photographers as complex. As a consequence, view cameras are often adjusted largely by trial and error. Yet the adjustments are not so difficult if the principles are understood and a logical system is adopted as a routine camera technique.
In brief, the purpose of view-camera adjustments is as follows: The Swing Back (horizontal and vertical) is used (a) to rectify perspective distortion or (b) to adjust the focal plane to the depth requirements of the subject.
The tilting lens (horizontal and vertical) positions the lens so that the plane of sharp focus coincides with the principal plane of the subject. The rising and falling front (and/ or) horizontal slide secures a correct lens and film relationship for cases when the subject is not on the camera axis.
The rotating back is a very convenient means of rotating the film as desired to fit the placement of the subject without the necessity of tilting either the camera or subject.
WORKING PROCEDURE
The actual steps for setting up the camera should be taken in the following order: After the desired viewpoint is selected, the ground-glass image should be brought into approximate focus. This much, which is routine for all photographers, should be accomplished with all camera adjustments “zeroed,” and with the lens opened to its maximum aperture. The four final steps are:
- Swing and/ or tilt the camera back to control the line relationships of the subject. (To eliminate perspective distortion.)
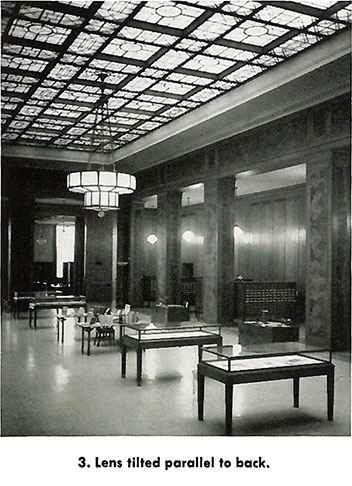
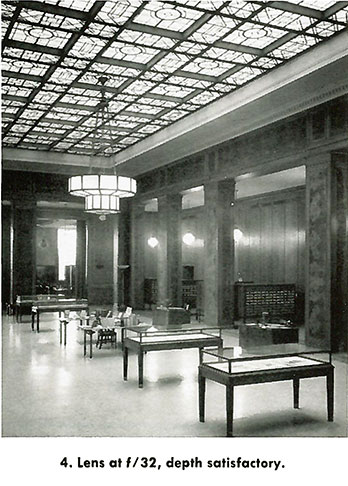
- Swing and/ or tilt the lens until the plane of sharpest focus coincides with the principal plane of the subject.
- Readjust the camera focus if necessary.
- Stop down the lens until the desired depth of field has been obtained.
In simple terms, this four-step procedure will serve as a guide to the procedure for any subject encountered. However, there are ments concerned with any photographic technique, and the following paragraphs are presented to help clarify these procedures.
THE SWING BACK
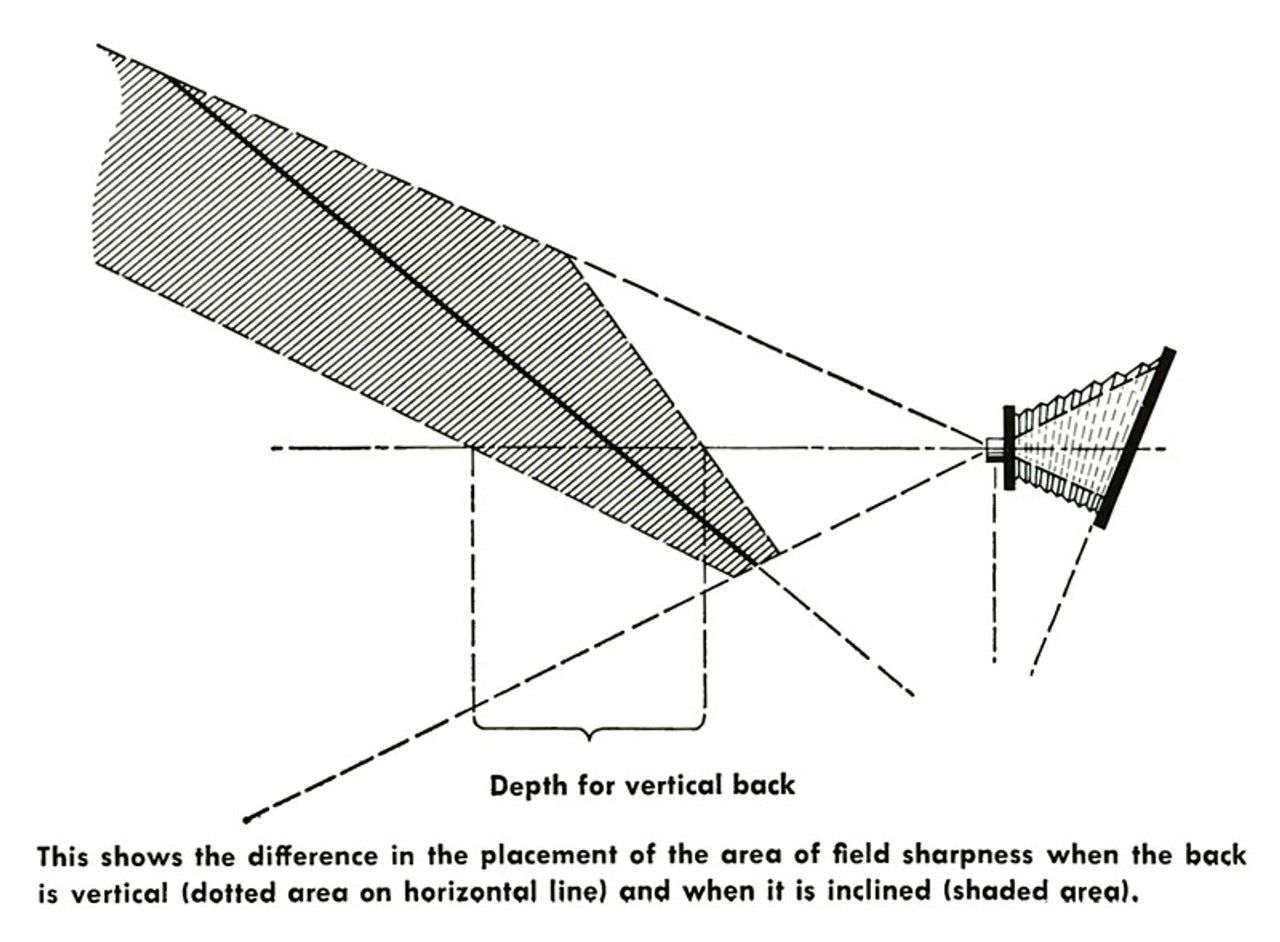
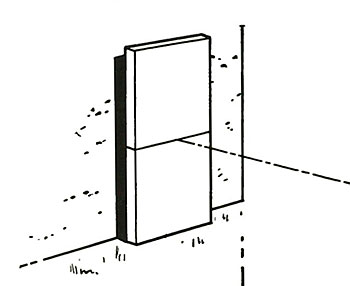
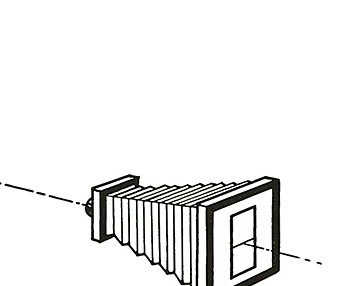
The principal purpose of the horizontal and vertical swing movements of the camera back is to position the film plane so that the “drawing” of the image on the ground glass will appear as desired by the photographer. This may be a correction of converging or diverging lines, or it may be a deliberate perspective distortion to fit the mood of the picture. The fundamental point to remember is that the image shape is similar to the subject shape as long as the camera back is parallel to the subject.
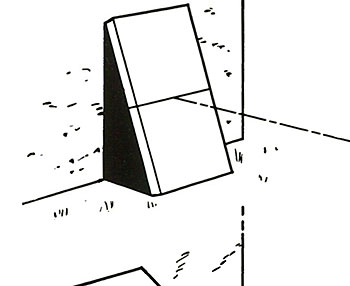
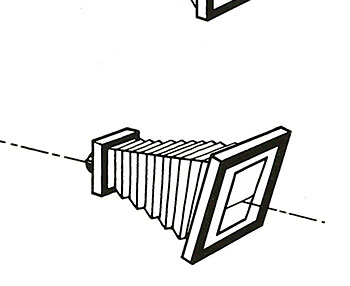
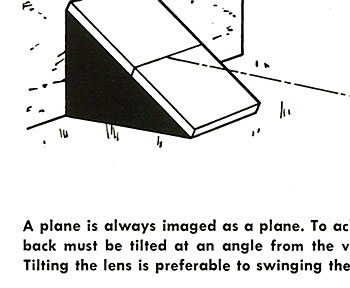
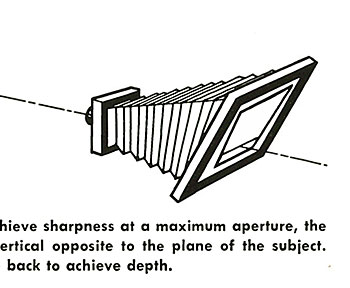
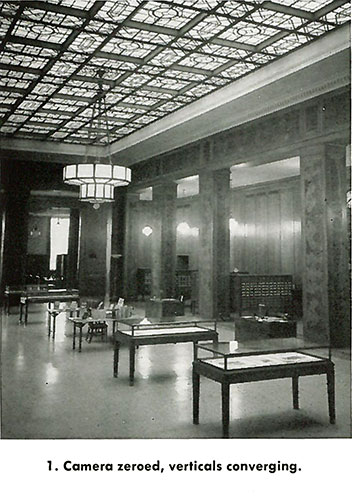
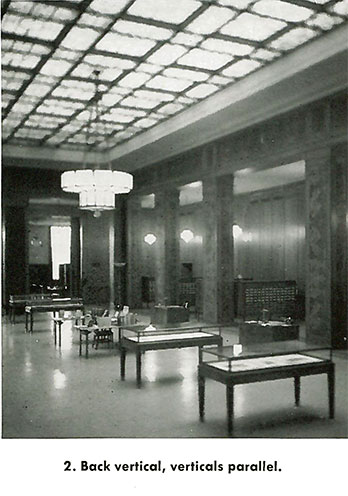
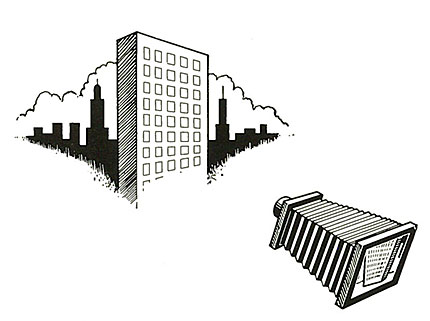
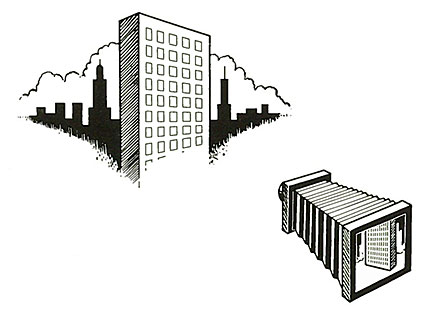
Correction of Vertical Lines. The classic example to show the use of the vertical-back swing is in architectural photography. In photographing a tall building, the problem is, of course, to keep the vertical sides of the building parallel, rather than “wedged,” even though the camera is looking upward to include the top of the building. If the film is kept vertical, the image of any vertical rectangle in the subject, such as the outline of the building, which is parallel to the film plane will have an image in the film plane which is a similar rectangle.
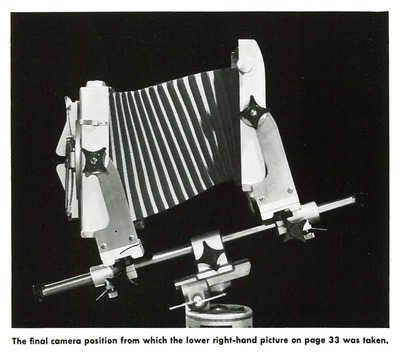
From a practical standpoint, the film can be kept parallel to the front of the building in either of two ways. First, the lens itself may be raised by means of a rising front, while the camera bed is kept horizontal and the back vertical. Secondly, the customary solution to the problem is to tilt the Whole camera upward and adjust the swing back to restore the film to its original vertical position.

"Add to Cart" to download the complete PDF file.
Product Videos
Custom Field
Product Reviews
1 Review Hide Reviews Show Reviews
-
VIEW CAMER'S CREATIVE CONTROL
THIS BOOK SHOWN ME HOW TO CONTROL **SHIP PROW* *PROBLAME IN Arc. TALL BUILDINGS PHOTOS


